
 Jon Zilinski
Halloween and Jack-O’-Lanterns are synonyms with each other come Oct. 31. Nothing looks more awesome than having an army of these sitting on your porch. If you’ve never carved a pumpkin before, don’t stress.Here’s our simple guide on how to make a Jack-O’-Lantern
1. Pick your pumpkin
Go get your pumpkin at any grocery store, farmers market, back-alley pumpkin dealer, or whatever you want. If you’re ambitious and planning to create an intricate design, get a bigger pumpkin. Now is the perfect time to get carving, the people who started in September are probably screwed since pumpkins only have a shelf life of about two weeks. Make sure to pick a healthy pumpkin with a consistent color the entire way around. It should sound hollow when you knock on it.
2. Scoop the guts
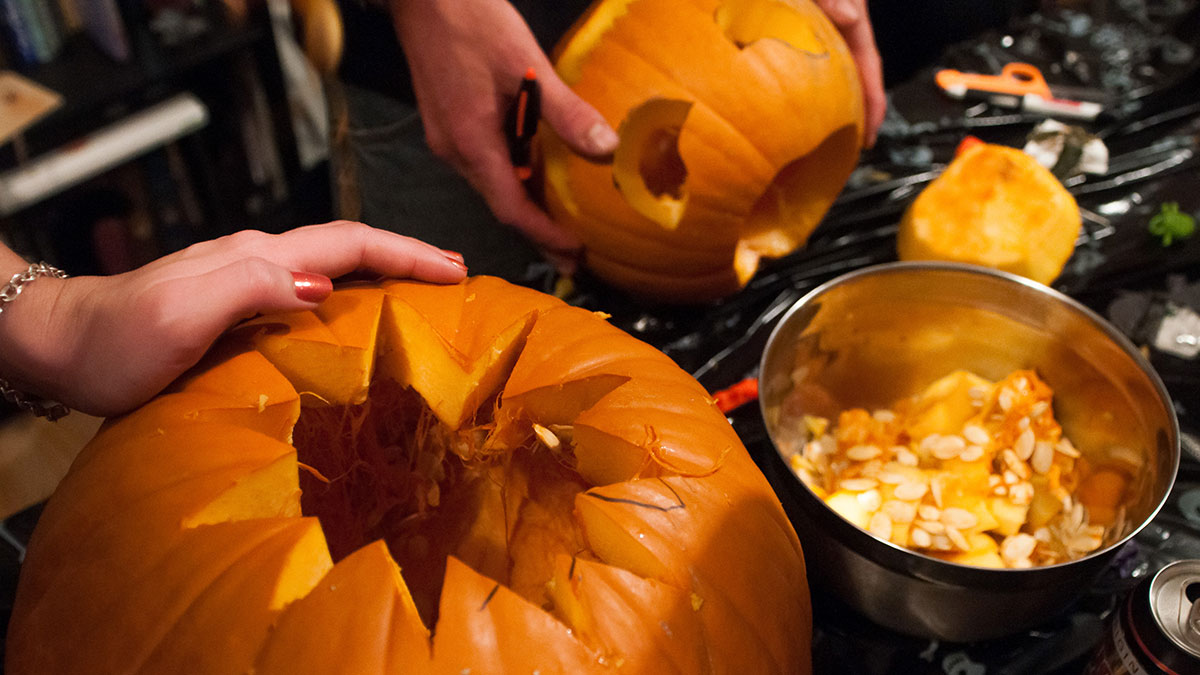
Scooping guts is easily the worst part of the entire process, so get it over with first. Find a spacious area to start your process, and scalp that pumpkin. You can either mark your cut with a marker to make a cool design, or freehand it depending on how confident you’re feeling. Whatever you decide, make sure you cut a big enough hole in the top. Once that’s taken care of, get all of the seeds and nasty stringy shit out of there. This can be accomplished with a variety of kitchen utensils, but either a wooden spoon, or large soup-spoon will do the best.
3. Draft your design
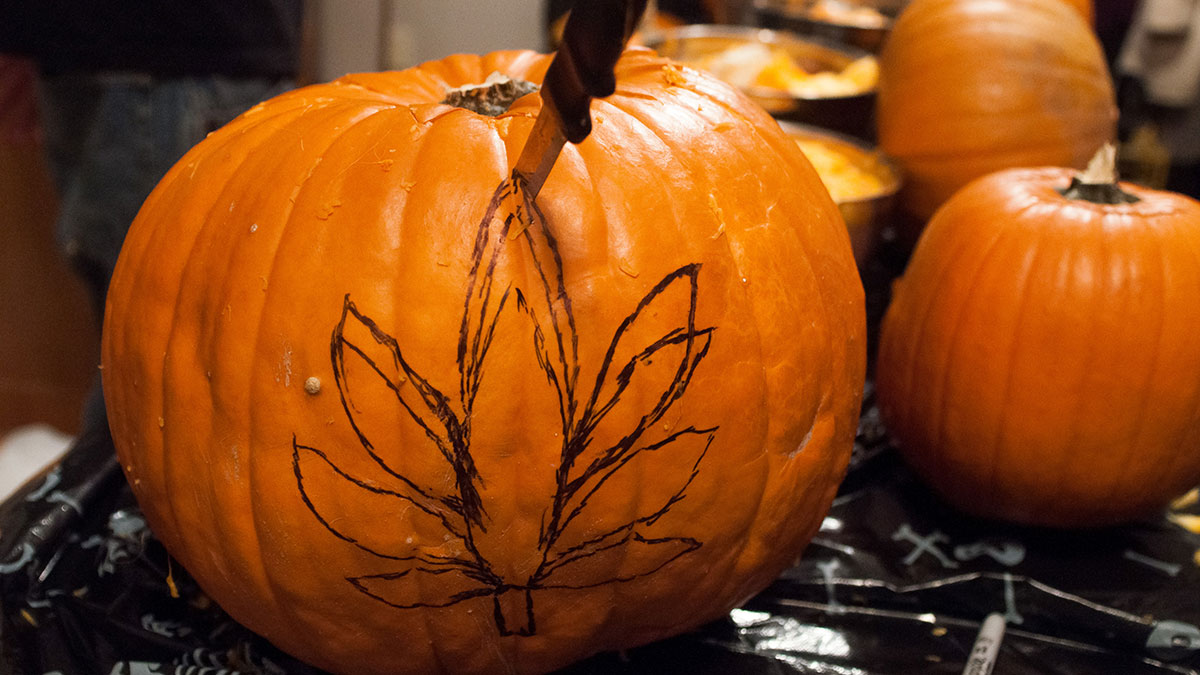
Whether it’s a pumpkin-carving template, or you’re drawing by hand, don’t take your design too seriously. Intricate details take forever and patience may be wearing thin since you’ve already probably spent a good portion of time scooping out pumpkin guts. Not to mention, you’ll probably get really pissed off when you realize that the infamous Jose Bautista bat flip carving you saw on the internet, is actually a lot harder to carve then you thought. Go with something simple and fun like a traditional spooky face, or a marijuana leaf now that the Liberals have a majority. Pro-tip: for the perfectionists out there, use a dry erase marker instead of a permanent. That way if you make a mistake, you won’t have to flip your pumpkin to start all over.
4. Carve Carefully
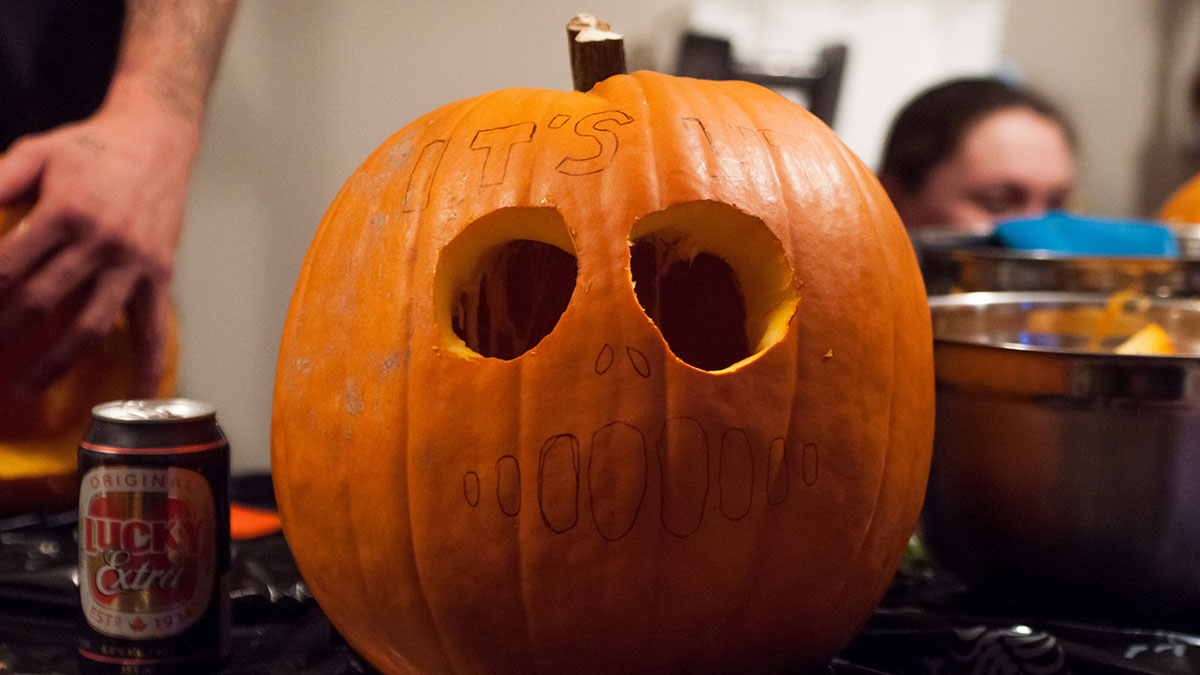
Use a decent blade, whether that is a steak knife, chef’s knife, or even a machete. Whatever your tool, make sure it’s sharp; otherwise you’ll have a better chance of messing up a cut. Make sure you have a small blade as well if you’re planning on tricky details. The most important thing to keep in mind while hacking away: take your time. Seriously you’ve come this far, spent probably an hour prepping and now you’re going to rush? Find your chill, and if you do mess up, it’s okay. The kids who come by your house are going to think it’s awesome regardless.
5. Get lit
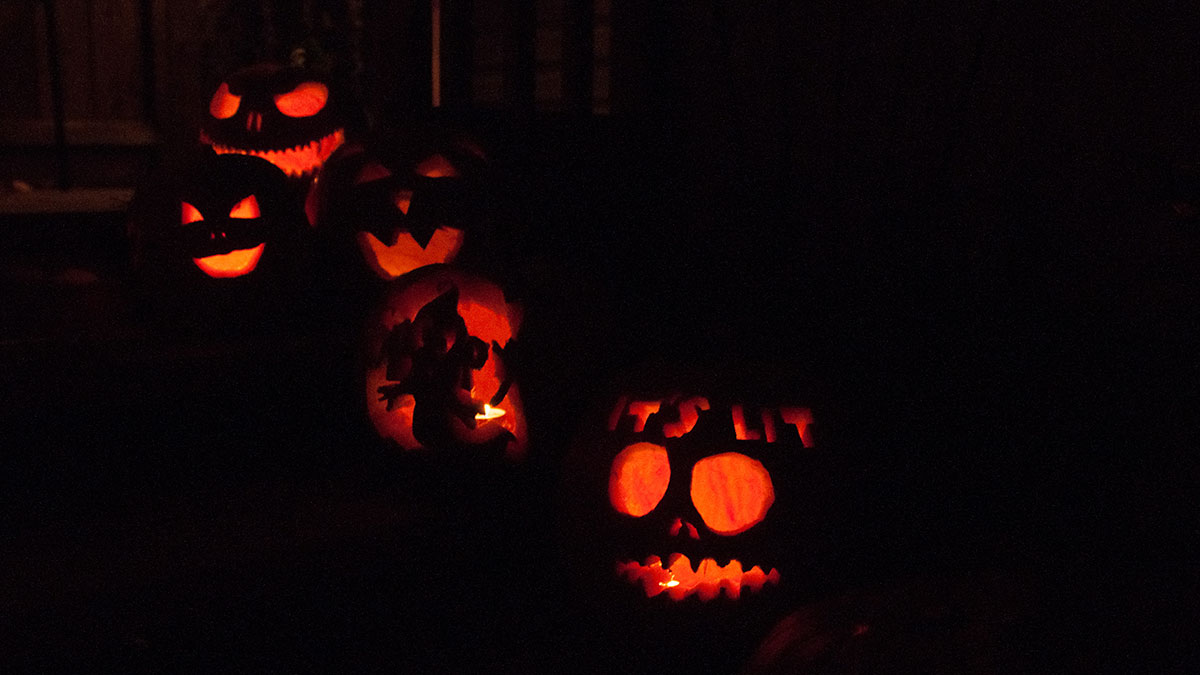
Once that bad boy is all carved up and ready to go, insert a small tea light from the top and light it up. Make sure to keep your Jack-O’-Lantern away from any flammable areas, especially leading up to your residence. Last thing anyone wants on Halloween is a careless trick or treater accidentally burning your place to the ground. Once you have a safe display set up for your pumpkin, relax and marvel and the beautiful work of art you’ve accomplished.


