
 Christina Varvis
The holidays are over, and the back to school grind is both imminent and horrifying. Regardless of whether or not you celebrate any December holiday, chances are that you may have partaken in just a little bit of retail therapy at some point. Did you treat yourself?
Personally, I wind up with an excessive amount of small silver tins that hold various treats and whatnot after the holidays. It doesn’t matter if they were filled with chocolate, tea or candles — it seems wasteful to just let them sit empty in a landfill somewhere.
To make sure this sad truth doesn’t become reality, here’s a little craft that you can do that will both use up some extra junk as well as provides a little bit of crafting therapy to ease your mind into back to school mania. Everybody needs a place to keep spices, so here’s a cute little set up that will free up a lot of space.
What you’ll need:
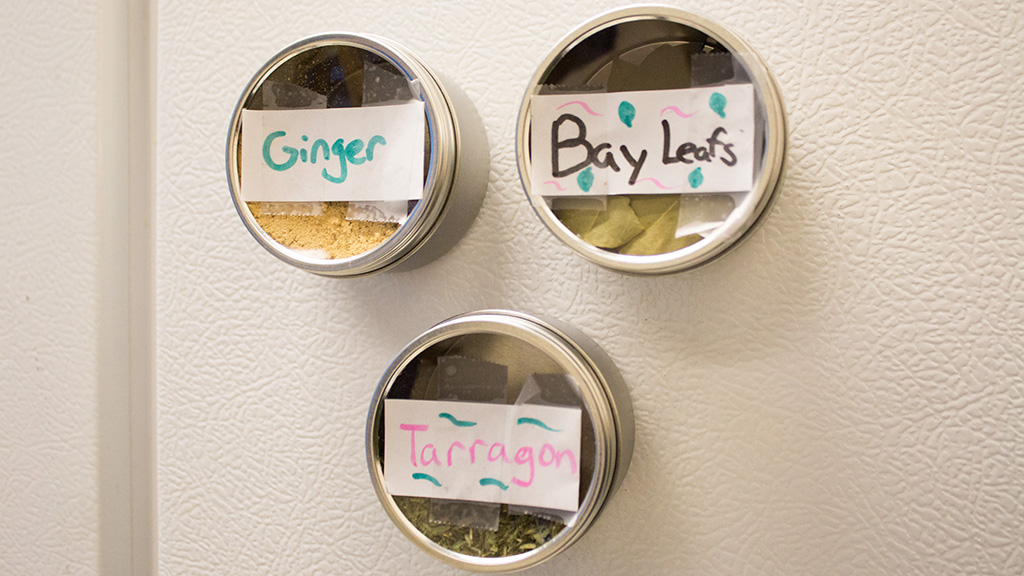
- Silver tins (I used some leftover ones from a David’s Tea gift set)
- Small magnets
- A whiteboard (or fridge, or anything you can attach magnets to)
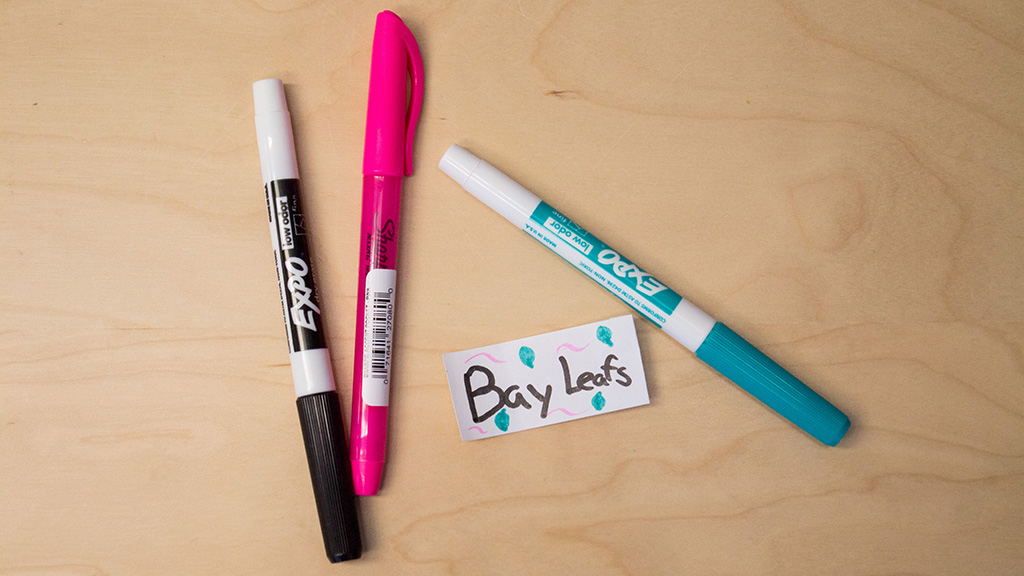
- Labelling equipment
- Spices

Step 1: To begin your adorable spice rack, start by getting all of your crafting ingredients together. Decide which spices you want to have easy access to, and pull them out of your unorganized cooking drawer.
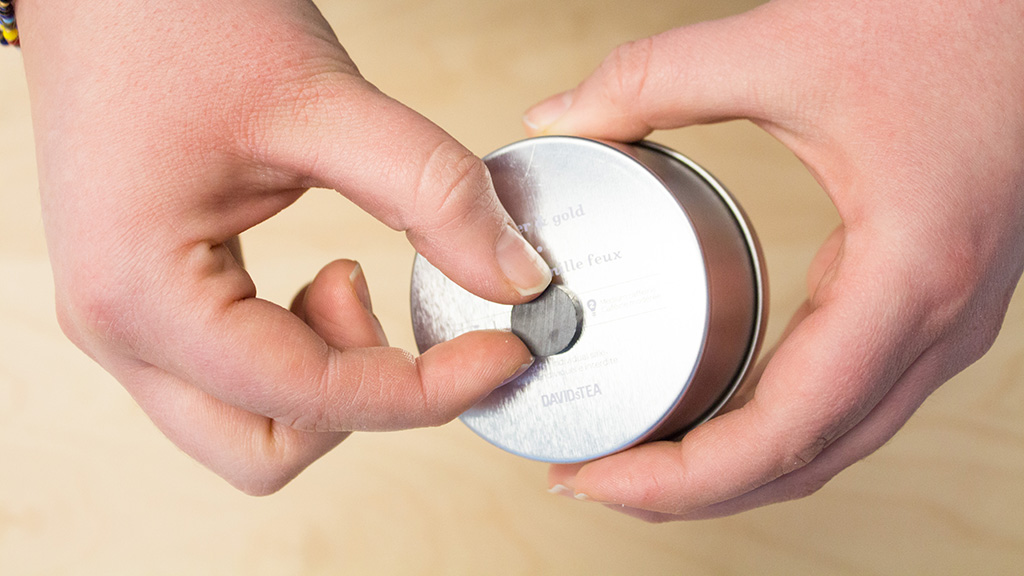
Step 2: Wash and dry your empty tins. You don’t want anything tainting the smell of your beautiful, fragrant spices. Once they are completely dry (to avoid any of your spices getting wet and clumping) attach a magnet to the back of each tin. Make sure the magnets are big and strong enough that they won’t fall off your whiteboard once they are full.
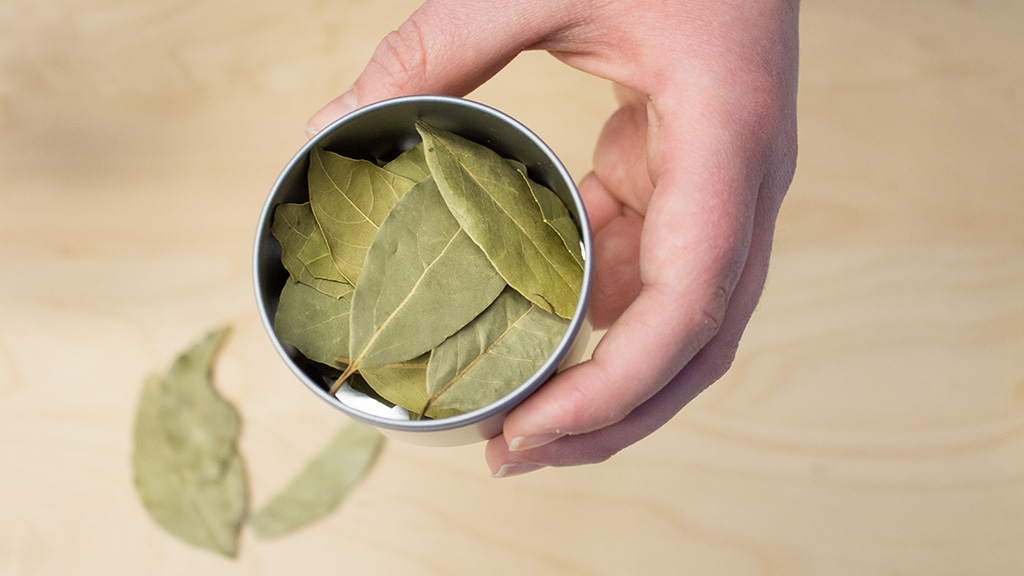
Step 3: Start filling up your tins with your spice selection. Try picking ones that you use a lot. If you have a couple different sizes, put the spices you use the most in larger tins and the lesser used in smaller ones. We’re going for efficiency here.
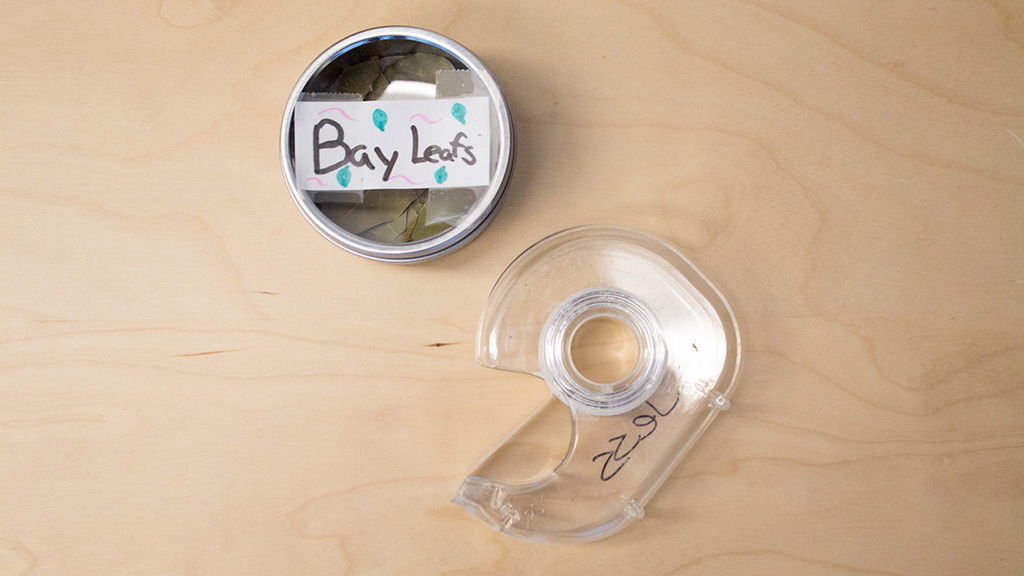
Step 4: Close your full tins and start making labels so you don’t confuse parsley, sage, rosemary or thyme. If you, like me, have terrible handwriting, you may commission someone more artistic to create these labels for you. Once they are done, tape them to the front of each tin so your life is now labelled and placed into perfectly organized order.
Step 5: Attach your magnetized, full of spice tins to the magnetic surface of your choosing. Now you have a sassy spice rack! Or spice fridge. Whichever works for you.
Step 6: Now you can get creative. This is how the creative moms of Pinterest get their start, so consider yourself introduced to the lifestyle. Anything you want to organize better, you can now throw a magnet on the back of it and toss it up on any magnetic surface. From makeup to school supplies, you are on the way to your new year’s resolution of being more organized. Go you!


